This guide contains affiliate links. We may earn a small commission if you purchase through our links, at no extra cost to you.
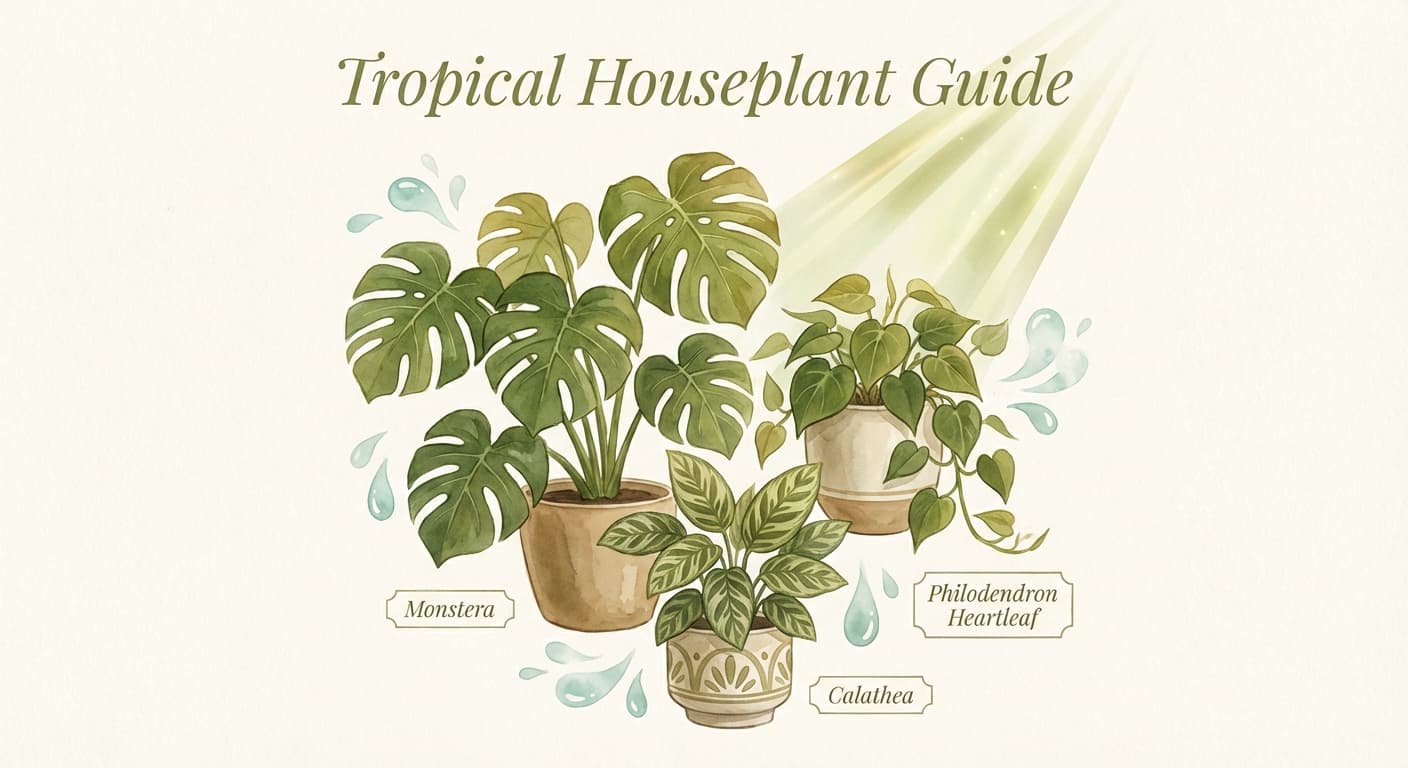
This guide is part of our comprehensive Tropical Houseplant Guide.
There's something deeply satisfying about propagating your own plants. Taking a cutting from a beloved Monstera, watching roots develop, and eventually growing an entirely new plant costs nothing but a bit of patience. Propagation lets you expand your collection, share with friends, and save plants that have grown leggy or overgrown.
Most tropical houseplants propagate easily once you understand the basics. This guide covers everything from simple water propagation to advanced techniques like air layering.
Table of Contents
- Propagation Basics
- Water Propagation
- Soil Propagation
- Division
- Air Layering
- Species-Specific Guide
- Caring for Fresh Cuttings
- Common Propagation Problems
- Frequently Asked Questions
Propagation Basics
Understanding Nodes
The node is the key to propagation for most tropical plants. It's the point on a stem where:
- Leaves emerge
- Aerial roots may develop
- New growth can begin
On aroids like Monstera, Philodendron, and Pothos, nodes appear as slightly raised rings or bumps on the stem, often with visible aerial roots or root nubs.
Critical rule: Every cutting needs at least one node. The stem between nodes (internode) cannot produce new roots or growth.
Best Timing for Propagation
Optimal: Spring and early summer, when plants are actively growing and root fastest.
Acceptable: Late summer and early fall.
Avoid: Winter, when growth slows and cuttings root slowly (if at all).
Cuttings taken during active growth periods can root in 2-4 weeks. Winter cuttings may take months or fail entirely.
Tools You'll Need
- Clean, sharp scissors or pruning shears
- Clean container for water propagation
- Fresh potting mix for soil propagation
- Optional: rooting hormone (speeds rooting but not essential)
- Optional: clear plastic bag for humidity (soil propagation)
Cleanliness matters: Dirty tools spread disease. Wipe with rubbing alcohol before cutting.
Water Propagation
The most beginner-friendly method, letting you watch roots develop.
Best Plants for Water Propagation
Water propagation works excellently for:
- Pothos
- Philodendron (most varieties)
- Monstera
- Tradescantia
- Syngonium
- Peace Lily (from division)
Step-by-Step Water Propagation
1. Select your cutting location
Find a healthy stem with:
- At least one node (two is better for backup)
- 1-2 healthy leaves
- No signs of disease or pest damage
2. Make the cut
Cut 1-2 inches below a node using clean, sharp scissors. A clean cut heals faster than a ragged one.
3. Prepare the cutting
Remove any leaves that would be submerged in water—submerged leaves rot and foul the water. Leave 1-2 leaves above the water line.
4. Place in water
Use a clean glass or jar. Room temperature water is fine. Submerge the node(s) while keeping leaves above water.
5. Position correctly
Place in bright indirect light. Avoid direct sun, which heats the water and can damage developing roots.
6. Maintain the water
Change water every 5-7 days to prevent bacterial growth. Top up as needed between changes.
7. Wait for roots
Roots typically appear in 2-4 weeks. Initial roots are white and thin.
8. Know when to pot
When roots reach 2-3 inches long and have some branching, they're ready for soil. Longer water roots can struggle to adapt to soil.
Water Propagation Tips
- Use opaque containers if algae becomes a problem (light promotes algae growth)
- Add a small piece of charcoal to water to reduce bacterial growth
- Rooting hormone isn't necessary but can speed the process
- Don't rush potting—roots too short may not survive transition
Soil Propagation
Some plants root better directly in soil, and soil-rooted cuttings don't face the transition shock that water-rooted cuttings do.
Best Plants for Soil Propagation
- Ficus varieties (often rot in water)
- Rubber Plant
- Hoyas
- Some Philodendrons
- Plants prone to rotting in water
Step-by-Step Soil Propagation
1. Prepare your cutting
Same process as water propagation: cut below a node, remove lower leaves.
2. Optional: Apply rooting hormone
Dip the cut end in rooting hormone powder. Tap off excess. This step is optional but increases success rates.
3. Prepare the pot
Fill a small pot with moist, well-draining soil. A mix of potting soil and perlite works well.
4. Plant the cutting
Make a hole in the soil with a pencil or finger. Insert the cutting with the node(s) buried. Firm soil gently around the stem.
5. Create humidity
Cover with a clear plastic bag or place in a humid environment. This prevents the cutting from drying out before roots develop.
6. Maintain conditions
Keep soil moist (not soggy). Place in bright indirect light. If using a plastic bag, open occasionally for air exchange.
7. Check for rooting
After 4-6 weeks, gently tug the cutting. Resistance means roots have developed. New growth also indicates successful rooting.
Soil Propagation Tips
- Don't overwater—soggy soil causes rot
- Bottom heat (a heat mat) speeds rooting
- Small pots work better than large ones for cuttings
- Patience—soil propagation takes longer to show visible progress
Division
For plants that grow in clumps or produce multiple growth points, division is the fastest propagation method.
Plants to Divide
- Calathea and Maranta (Prayer Plants)
- Peace Lily
- Bird of Paradise
- Alocasia
- Snake Plant
- Ferns
- Spider Plant (babies)
Step-by-Step Division
1. Water the plant
Water a day or two before dividing. Moist soil is easier to work with, and hydrated plants recover faster.
2. Remove from pot
Gently tip the pot and slide the plant out. For rootbound plants, you may need to squeeze flexible pots or run a knife around the edge.
3. Identify division points
Look for natural separations between growth clusters. Each division needs roots and at least one growth point.
4. Separate the divisions
Gently tease apart root masses at natural division points. For dense roots, you may need to cut with a clean knife. Try to keep root damage minimal.
5. Pot the divisions
Plant each division in an appropriately sized pot with fresh soil. Water thoroughly.
6. Provide recovery care
Keep humidity high, maintain consistent moisture, avoid fertilizing for a few weeks. Some leaf drop is normal; new growth indicates recovery.
Division Tips
- Best done in spring when plants are entering active growth
- Don't over-divide—each section needs adequate roots to survive
- Larger divisions recover faster than tiny ones
Air Layering
For large plants where you want to propagate without cutting first, air layering creates roots while the cutting is still attached to the mother plant.
When to Use Air Layering
- Large Monstera that can't easily be cut and rooted
- Mature Philodendrons you don't want to cut back
- Ficus and Rubber Plants
- Any plant where you want a substantial cutting with established roots
Step-by-Step Air Layering
1. Select the location
Choose a node on the stem where you want your new plant to form. Ideally select a spot with an aerial root already emerging.
2. Wound the stem
Make a small upward cut into the stem (about 1/3 through), or remove a small ring of bark. This stimulates root growth.
3. Apply rooting hormone (optional)
Dust the wound with rooting hormone to encourage faster rooting.
4. Wrap with moss
Pack moist sphagnum moss around the wound. Use a generous amount—it should form a ball 3-4 inches in diameter.
5. Cover with plastic
Wrap the moss ball with clear plastic wrap. Secure both ends with tape or twist ties. The wrap keeps moisture in while letting you see root development.
6. Wait for roots
Check periodically by peeking through the plastic. Roots should appear in 4-8 weeks. Continue waiting until you see substantial root growth.
7. Cut and pot
Once roots are well-developed, cut the stem below the root mass. Remove the plastic (you can leave some moss) and pot in soil.
Air Layering Tips
- Keep moss moist—inject water with a syringe if it dries
- Be patient—air layering takes longer but yields stronger plants
- Don't remove from mother plant until roots are substantial
Species-Specific Guide
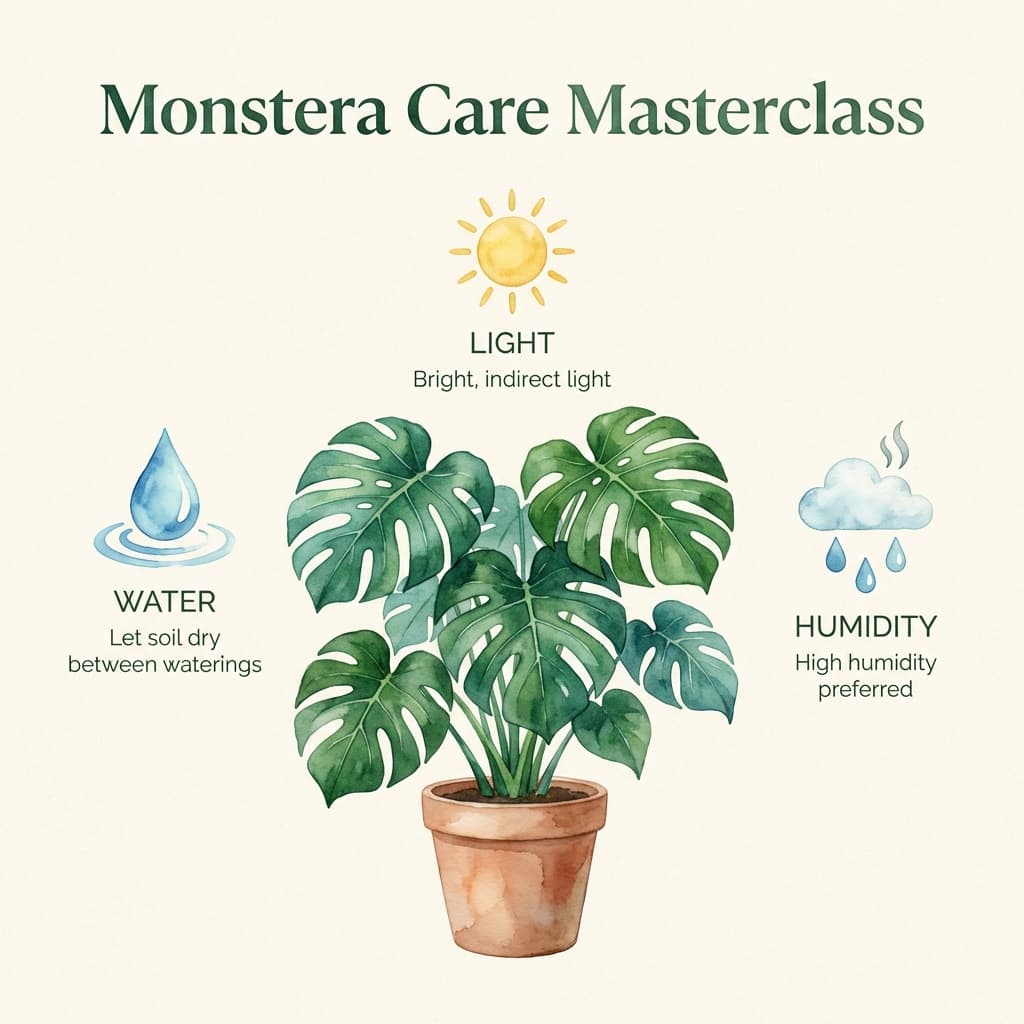
Monstera
Method: Water or soil cuttings, air layering
Tips:
- Each cutting needs a node and preferably an aerial root
- Water propagation is easiest for smaller cuttings
- Air layering works well for large, mature plants
- Roots in 3-6 weeks in water
For complete Monstera care, see our Monstera guide.
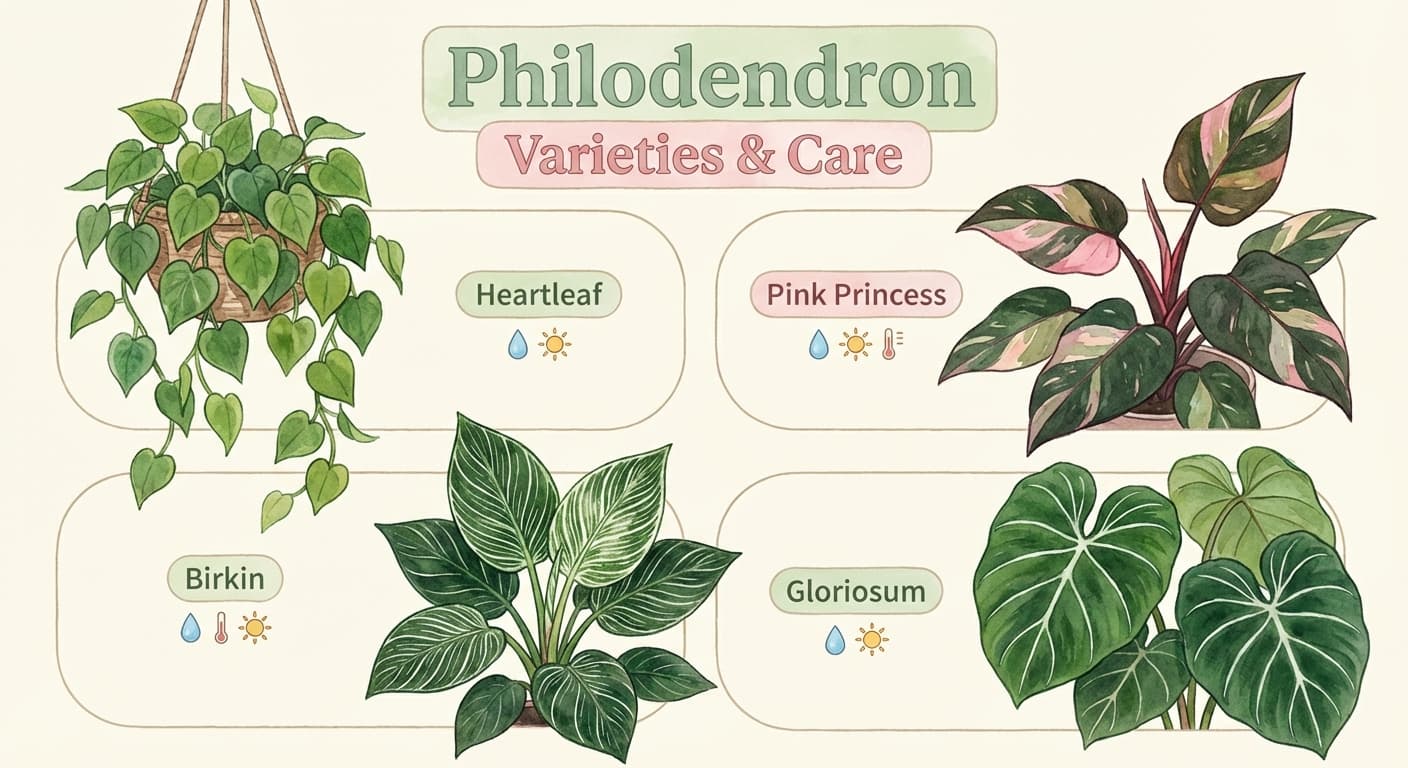
Philodendron
Method: Water or soil cuttings
Tips:
- Very easy to propagate
- Both climbing and self-heading types root readily
- Roots often appear within 2-3 weeks
- Can propagate single-node cuttings successfully
See our Philodendron guide for variety-specific notes.
Pothos
Method: Water cuttings (easiest)
Tips:
- Nearly foolproof propagation
- Can root from very small cuttings (even single leaves with nodes)
- Roots in 2-3 weeks
- One of the best plants for beginners to learn propagation
Calathea / Prayer Plants
Method: Division only
Tips:
- Cannot be propagated from cuttings
- Divide only when plant has multiple distinct crowns
- Keep divisions humid during recovery
- Spring is the best time
Peace Lily
Method: Division
Tips:
- Divide when rootbound or when multiple crowns visible
- Each division needs roots and at least one leaf cluster
- Recovers quickly from division
Bird of Paradise
Method: Division
Tips:
- Divide only mature, multi-stemmed plants
- Each division needs a substantial root portion
- Very slow to establish—be patient
- Large divisions recover better than small ones
Alocasia
Method: Division, offset separation
Tips:
- Produces offsets (corms/babies) that can be separated
- Corms can be rooted in sphagnum moss
- Keep humid during rooting
- Some varieties go dormant—don't discard "dead" bulbs
Ficus / Rubber Plant
Method: Soil cuttings, air layering
Tips:
- Often rot in water—soil propagation is safer
- Let cut end dry briefly before planting (milky sap)
- Air layering works well for larger specimens
- Higher humidity improves success rates
Caring for Fresh Cuttings
Transitioning from Water to Soil
Water roots are different from soil roots. Plants need time to adjust:
- Don't wait too long—roots 2-3 inches long adapt better than very long roots
- Use moist soil—not wet, not dry
- Keep humidity high for the first 1-2 weeks
- Don't fertilize until new growth appears
- Water carefully—keep soil consistently moist as roots adapt
Post-Propagation Care
All fresh propagations benefit from:
- Warm temperatures (70-80°F ideal)
- Bright indirect light (not direct sun)
- High humidity (especially for tropical plants)
- Consistent moisture (but not soggy)
- No fertilizer until established (4-6 weeks)
Signs of Success
- New root growth
- New leaf growth
- Stem remaining firm and green
- Overall plant staying turgid
Signs of Trouble
- Rotting stem (soft, mushy, or black)
- Yellowing with no root development
- Wilting that doesn't recover
- Mold on soil surface
Common Propagation Problems
Cutting Won't Root
Possible causes:
- No node on the cutting
- Wrong season (winter)
- Too cold
- Stem rot before roots developed
Solutions:
- Ensure cutting has a node
- Propagate in spring/summer
- Provide warmth (70-80°F)
- Change water more frequently or use fresh soil
Rotting Cuttings
Possible causes:
- Overwatering (soil propagation)
- Contaminated water
- Submerged leaves
- Cut end not calloused before soil planting
Solutions:
- Let cut end dry briefly before soil planting
- Change water weekly
- Remove any submerged leaves
- Use well-draining soil mix
Roots Won't Transition to Soil
Possible causes:
- Water roots too long
- Soil too wet or too dry
- Transplant shock
Solutions:
- Pot up when roots are 2-3 inches, not longer
- Keep soil consistently moist (not wet)
- Maintain high humidity during transition
Wilting After Potting
Normal: Some wilting during adjustment is expected.
Problem: Prolonged wilting suggests root damage or soil issues.
Solutions:
- Increase humidity
- Check that soil isn't too wet
- Give time—most plants recover in 1-2 weeks
Frequently Asked Questions
How long does it take for cuttings to root?
Most tropical cuttings root in 2-4 weeks in water during growing season. Soil propagation takes 4-6 weeks to show growth.
Can I propagate without a node?
No—for most tropical vines and aroids, the node is essential. Stem pieces without nodes cannot produce roots or new growth.
Is rooting hormone necessary?
Not necessary, but it speeds rooting and improves success rates. Useful for slower-rooting species or propagation during less-ideal conditions.
Why is my cutting rotting instead of rooting?
Usually due to bacterial contamination (change water more often), too much moisture (soil), or the cutting wasn't healthy to begin with.
When should I pot water-rooted cuttings?
When roots are 2-3 inches long and showing some branching. Longer roots have more trouble adjusting to soil.
Can I propagate in winter?
You can, but success rates are lower and rooting takes much longer. Spring and summer are far more reliable.
How do I propagate plants that can't be cut?
Use division (for clumping plants) or offset separation (for plants that produce babies). Some plants simply must be grown from seed.
Can I put multiple cuttings in one pot?
Yes—this is a great way to create a fuller plant. Ensure each cutting has space and resources.
Key Takeaways
Successful propagation requires:
- Healthy source material: Start with vigorous, disease-free parent plants
- Proper technique: Ensure each cutting has a node, use clean tools
- Right timing: Spring and summer yield fastest results
- Patience: Rooting takes weeks—don't rush the process
- Appropriate aftercare: Maintain humidity and consistent moisture for new plants
Propagation is a skill that improves with practice. Start with easy plants (Pothos, Philodendron) to build confidence, then tackle more challenging species. Every successful cutting teaches you something.
For more advanced techniques, see our advanced propagation guide.
For complete tropical plant care, return to our Complete Guide to Tropical Houseplants.